“`html
How to Cross Rivers Safely During a Trek
Trekking often brings us face-to-face with untouched wilderness, complete with the challenge of crossing rivers. Every trekker must master this skill to enjoy a journey that is both adventurous and safe. In this guide, we will delve into the key aspects that make river crossings a manageable task. You’ll learn about essential equipment – from wading shoes to makeshift rafts, selecting the best site for crossing, and techniques that ensure safety. Whether it’s a calm stream or a roaring river, the tips and strategies outlined will equip you with the knowledge to tackle any water crossing on a trek, making each step an opportunity for learning and discovery.
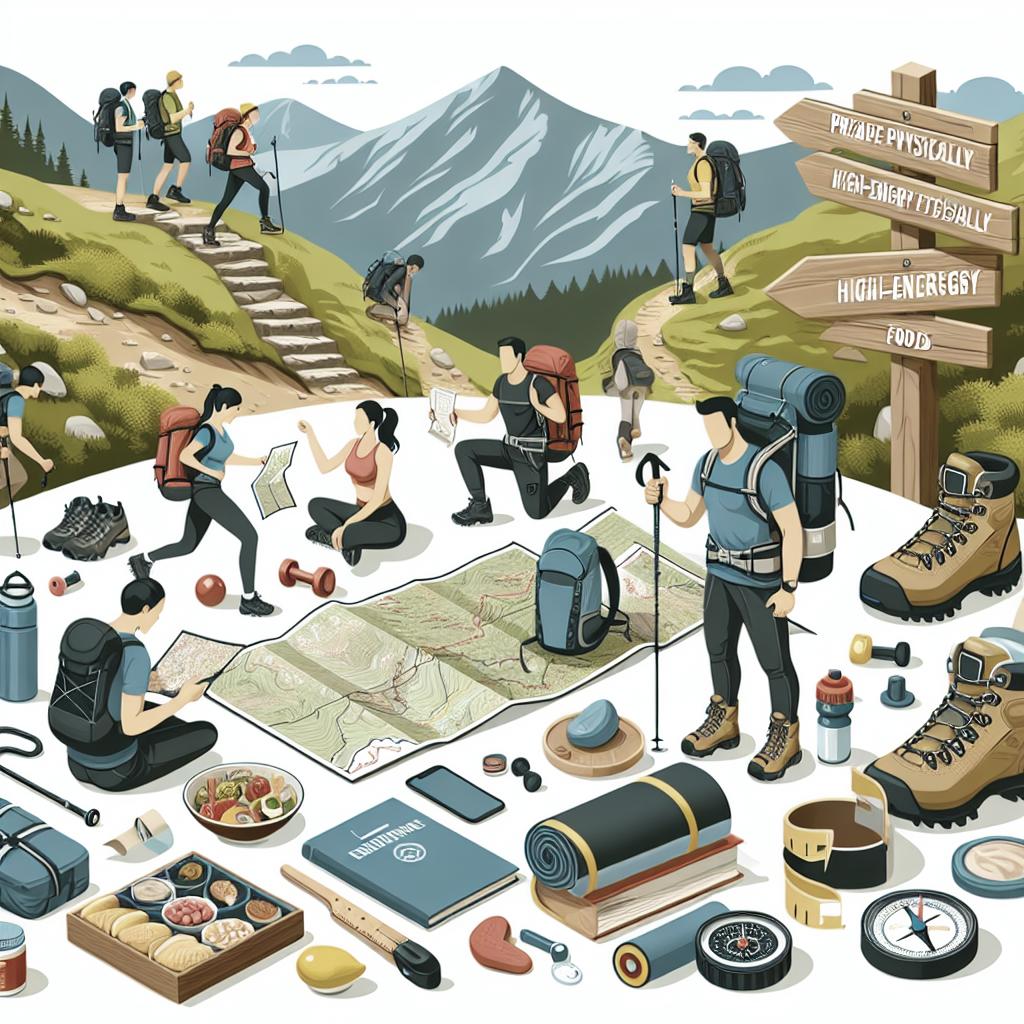
Getting Ready for River Crossing
Equipment
Wading Shoes
Wading shoes are indispensable for safe river crossings. Unlike regular hiking boots, these shoes provide an excellent grip on slippery riverbeds. Typically, wading shoes are constructed with materials that offer both durability and flexibility, allowing for quick drying and efficient navigation over wet terrain. Selecting a pair with thick soles can help protect you from sharp rocks and other hazards submerged in river water.
Investing in quality wading shoes can make all the difference in your river-crossing experience. Look for shoes with reinforced support and drainage, ensuring comfort and safety throughout your trek. As a bonus, many wading shoes are designed with ankle support, reducing the risk of sprains and enhancing your balance on uneven riverbeds.
Poles
Trekking poles can be a game-changer when crossing rivers, providing stability and balance. These are particularly useful in deeper or faster-flowing waters, where maintaining balance can be challenging. Utilizing trekking poles means you can probe the riverbed for depth and obstacles, enabling a smoother crossing.
Ensure that your trekking poles are adjustable and equipped with durable locking mechanisms to withstand the push of strong currents. Carbon fiber or aluminum poles are ideal, as they combine lightness with resilience. Using poles effectively involves planting them firmly upstream before taking any steps, creating a tri-pod effect with your two legs and the pole for maximum stability.
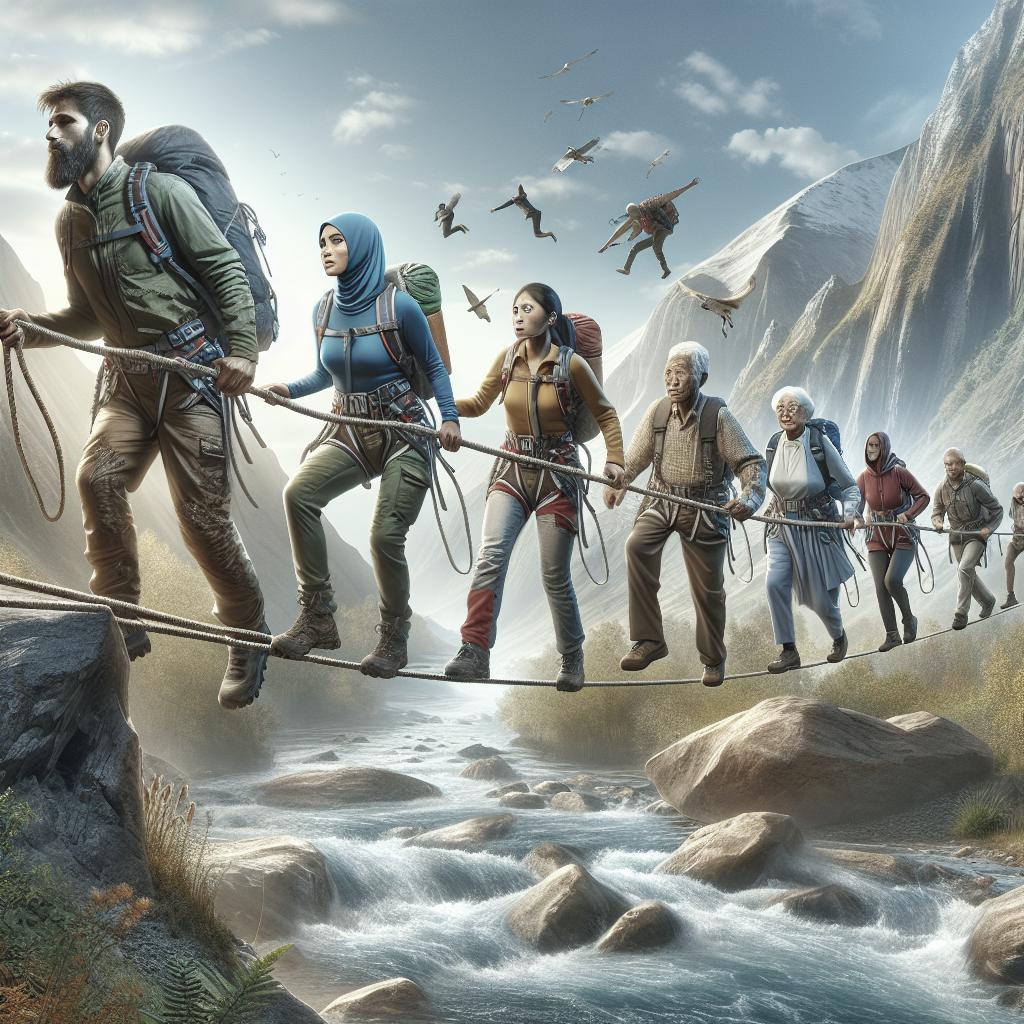
Rope or String
A rope or string can serve multiple purposes during a river crossing, from providing additional stability to creating safety lines. In areas where currents are particularly strong, a rope tied between two sturdy anchoring points can be a lifesaver for group crossings, allowing individuals to hold onto the line as they wade through the water.
Opt for a rope that is lightweight yet strong, ideally with a breaking strength sufficient to hold the weight of several individuals. Proper knot techniques are crucial; learn and practice knots such as the bowline or clove hitch to ensure the line is secure. A rope can also be used to assist with retrieving any lost gear that floats downstream.
Backpack ‘Raft’
Transforming your backpack into a makeshift raft is a practical solution when you need to keep your gear dry during a deeper river crossing. Most modern backpacks come with waterproof covers, but for extra assurance, using durable, plastic garbage bags to double-wrap essentials ensures they remain safe from water damage.
To create a backpack raft, load your gear into the bag and seal it tightly to trap air, providing the necessary buoyancy. Secure it with a snug harness, ensuring it floats alongside or ahead of you, minimizing the risk of water leakage. This technique not only helps in safeguarding your equipment but also provides peace of mind in unpredictable water conditions.
Selection of Wading Site
Choosing the right site to cross a river is a critical decision that can make or break your trek. Look for a section of the river that is wide and shallow, as these areas typically have a slower current. Avoid crossing at bends where water flow is faster, and examine both the entry and exit points to ensure that they are not steep or obstructed.
Take time to observe the river for signs of hidden dangers. Check for visible rocks or debris that might indicate submerged hazards. Look for foam or bubbles on the water’s surface, which could signal strong currents. Using trekking poles, test the riverbed starting from the bank to gauge depth and stability before proceeding with the crossing.
Furthermore, never attempt to cross rivers alone. If you’re trekking with a group, work together to scout for the best crossing points, leveraging each other’s experience and judgment. Often, taking a detour to find a safer crossing location can save you time and potential harm in the long run.
Crossing a River by Wading – Technique
Once you’ve geared up and chosen a suitable location, it’s time to consider your wading technique. Enter the river facing upstream to reduce the impact of the current against you. This stance allows you to spot and navigate any obstacles with ease. Bend your knees slightly and lean forward, distributing your weight evenly.
Keeping three points of contact with the riverbed is essential. Use your trekking poles or river rocks to maintain your balance. Move one leg at a time, feeling ahead with your foot before shifting your weight. This methodical approach minimizes the risk of slipping and helps you remain stable.
In crossing with others, the linked-arm technique can enhance stability. By forming a chain, individuals can assist each other by creating a united front against the flow, sharing strength and security. This method works especially well in small groups, where communication and teamwork are paramount for everyone’s safety.
Safety and Tips for Crossing Streams on a Nordic Hike
Crossing streams during a Nordic hike poses unique challenges, especially with unpredictable weather conditions. Always check the forecast prior to your trek to prepare for changes in water level and flow rate that can significantly alter crossing difficulty.
Pack a lightweight waterproof jacket and pants, even if the forecast looks clear, as unexpected rain can quickly swell otherwise passable rivers. Remember to converse with local hikers or guides about recent conditions, as they often have up-to-date information on crossings.
Avoid attempting crossings late in the day when energy levels are waning, and visibility is reduced. Plan your trek with ample time for a midday crossing when visibility is optimal, and you have enough daylight hours for any necessary route adjustments. If you’re unsure about a crossing, it’s always better to set up camp and wait until conditions improve.
Future Prospects
| Topic | Key Points |
|---|---|
| Getting Ready for River Crossing | Essential equipment includes wading shoes, poles, rope, and a backpack ‘raft’. |
| Selection of Wading Site | Choose wide and shallow areas, avoid bends, and ensure safety by the presence of stable entry and exit points. |
| Crossing Technique | Entry facing upstream, use three points of contact, and employ the linked-arm technique for group stability. |
| Safety for Nordic Hikes | Consider weather changes, pack waterproof gear, seek local advice, and avoid late-day crossings. |
“`