“`html
How to Prevent Blisters During Long Treks
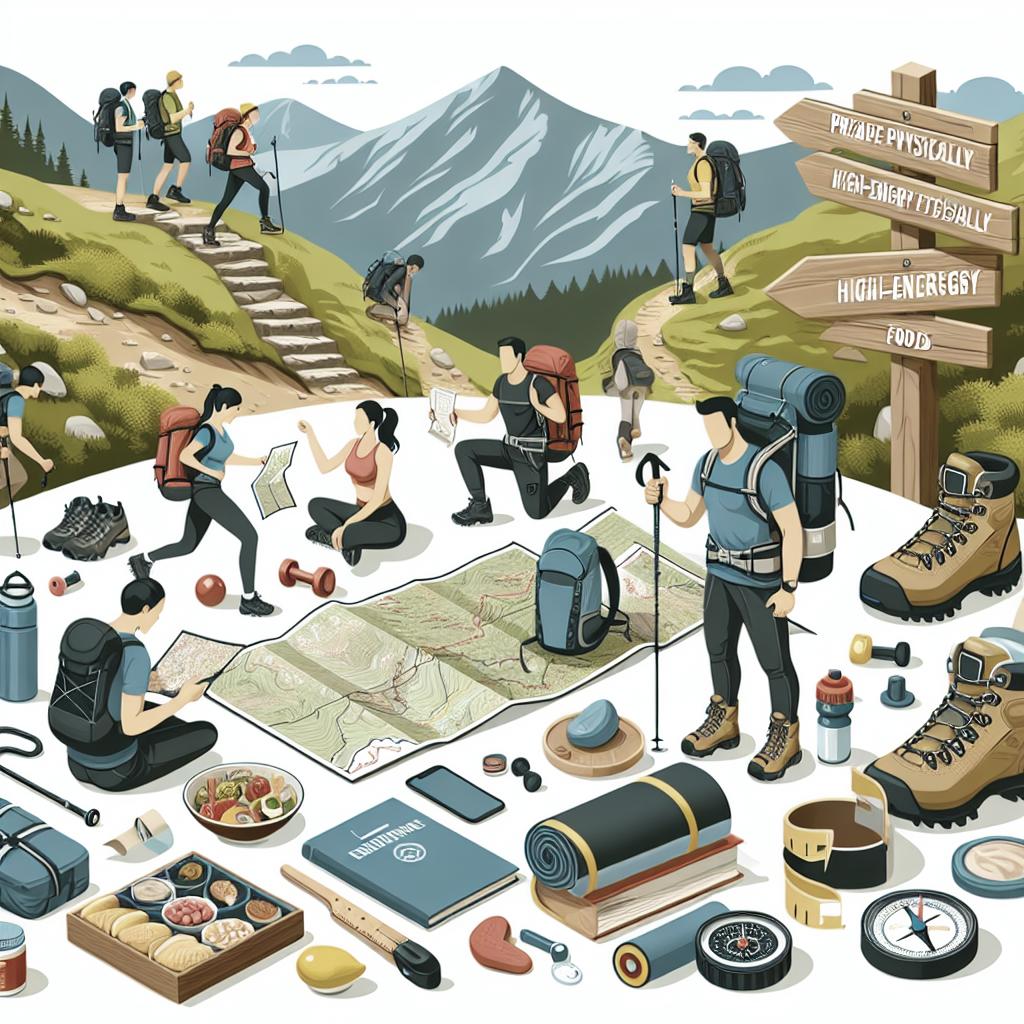
Embarking on long treks can be one of the most rewarding adventures, granting you access to remote landscapes and a chance to disconnect from daily life. However, blisters, which result from friction causing painful sores on the feet, can quickly turn a pleasant journey into an agonizing ordeal. Luckily, with the right techniques and equipment, you can minimize the risk of these pesky intruders. This article explores why hikers get blisters and offers comprehensive advice on preventing and treating them, ensuring your focus stays on the beauty of the journey rather than the pain in your feet.
Why Do Hikers Get Blisters?
Blisters form primarily due to friction, where repeated rubbing creates heat and fluid buildup beneath the skin. For hikers, continuous movement across varied terrain can cause these friction points, especially when wearing inappropriate footwear. Moisture from sweat exacerbates this by softening the skin, making it more susceptible to irritation and, consequently, blisters.
Additionally, the structure of hiking paths with inclines, declines, and uneven surfaces can contribute to increased friction. When the feet are not secured firmly in place, they can slide and rub against the shoe’s interior, creating prime blister conditions. Understanding these causes is crucial in adopting preventative measures that can make your hiking experience blister-free.
How to Prevent Blisters When Hiking
Wear Hiking Boots That Fit Well
Properly fitting boots are your primary defense against blisters. Boots that are too tight cause excessive pressure, while loose boots allow your feet to slide and rub against the interior surfaces. The best fit provides enough room for toes to wiggle without excessive movement elsewhere, ideally with enough space to accommodate any swelling during long hikes.
Try on boots later in the day, when your feet are slightly swollen, and wear the same type of socks you’ll hike in. If possible, test them on an incline to mimic actual hiking conditions. Many outdoor stores offer expert fitting services that can help ensure the best fit and could include heat molding for customized comfort.
Choose the Right Footwear
Choosing the right footwear involves considering more than just fit. The material, rigidity, and design of your boots should align with the type of trek you plan to undertake. Lightweight shoes serve well in groomed paths, but rocky terrains may require more robust options with added ankle support.
Evaluate the sole’s grip according to trail conditions and ensure that the boots have adequate ventilation to manage sweat. Innovations in hiking footwear now offer a range of waterproof yet breathable options that can help maintain a dry, comfortable environment for your feet.
Learn How to Lace Your Boots
The lacing technique can influence how your boots fit and, consequently, how prone you are to blisters. Appropriate lacing prevents foot slippage while avoiding pressure points. Techniques such as the heel lock or loop can help secure your feet, reducing internal movement during your trek.
Before hitting the trails, experiment with different lacing strategies to find which offers the best support and comfort. A secure fit will likely require a different approach in various sections of your trek, such as considering looser lacing downhill and tightening uphill.
Wear Wool or Synthetic Socks
Cotton socks retain moisture, leading to softened skin and increasing blister risks. Instead, opt for wool or synthetic materials engineered to wick away moisture effectively. Wool, in particular, offers natural thermoregulating properties, keeping feet warm in cold conditions and cool when it’s hot.
Superior moisture management minimizes conditions for blister formation. Look for blended fibers that provide a balance of durability, cushioning, and anti-chafing. Experiment with brands and sock technology, such as those offering compression or targeted padding, for enhanced protection.
Make Sure Your Socks Fit Well
The right sock fit is almost as important as the boot fit. Socks that fit poorly can bunch or shift, increasing friction on sensitive areas of your feet. Ensure your socks have a snug feel, lying flat on your feet without overly compressing your toes.
When trying new socks, test them with your hiking shoes to assess how they work together. Socks should maintain their place and offer cushioning without sliding down into your shoe, which can lead to blisters and discomfort.
Pick Socks That Are the Right Thickness
Sock thickness can influence both comfort and protection against blisters. Capable hikers often carry multiple sock thicknesses to vary depending on trail conditions and individual foot sensitivity. Consider thicker options for more cushioning and thermal insulation in cold climates.
For a balanced approach, choose lightweight socks for shorter trails or warmer weather, and thicker, cushioned options for rocky terrains or longer durations. Through practical testing on shorter hikes, determine which thicknesses best protect against blisters without sacrificing comfort.
Wear Liner Socks
Liner socks can be a game-changer for blister prevention. These thin base layers prevent friction by allowing your outer socks and boots to move smoothly over them. Liners usually consist of moisture-wicking synthetics, adding an additional defense against sweat-related blisters.
Liners are particularly beneficial on long marches where conditions may vary, providing a customizable layering solution. Consider liners if your current system isn’t preventing blisters, as a low-cost enhancement that increases comfort and protection.
Consider Toe Socks
Toe socks, with individual compartments for each toe, can minimize toe friction significantly. These are especially useful for hikers prone to interdigital blisters, offering enhanced protection compared to traditional socks.
While not for everyone due to the distinct fit, many enthusiasts swear by their benefits once accustomed. Experiment during shorter hikes to see how your feet respond, gradually incorporating them into your regular gear if effective.
Upgrade Your Insoles
Factory insoles often lack the support and cushioning needed for long-term hiking comfort. Upgrading to custom or higher-end insoles can improve alignment, reduce shock, and minimize friction in sensitive areas.
Look for insoles tailored to your arch type and hiking style. This customization can alleviate hot spots and support overall foot health, preventing blisters from forming on high-pressure zones like the ball of the foot or heel.
Cut Your Toenails
Overgrown or improperly trimmed nails can press against shoe interiors, leading to discomfort, pressure, and subsequent blisters. Regularly trimming your nails prevents these problems.
Trim your nails straight across to avoid ingrown tips, and ensure they’re short enough to clear the shoe comfortably during outings. Frequent maintenance as part of your hiking preparation can save you from unnecessary pain.
Air Everything Out
During breaks, take off your boots and socks to air out your feet. This helps reduce moisture and sweat buildup, allowing your skin to dry and recover naturally.
Letting the environment help keep feet dry can substantially cut down on blister risks, providing essential relief during longer treks. Consider bringing spare socks to swap during the day for sustained dryness and comfort.
Plan For Stream Crossings
Stream and river crossings can pose unexpected risks for blisters. Wet boots increase friction, so it’s imperative to keep your footwear dry whenever possible. Explore waterproof options or carry sandals for such crossings.
If you do get wet, dry your feet and boots as soon as practical. Remove insoles to allow maximum air exposure, and replace socks instantly. Pairing this tactic with air-out sessions ensures ongoing blister prevention.
Use Anti-Chafing Products
Anti-chafing balms add an extra layer of friction protection, ideal for high-risk areas. These products form a smooth layer over your skin, reducing the risk of blisters before inflammation can occur.
Apply these liberally before outings and during rest breaks, focusing on ankles, heels, and toes. These products add a reliable additional line of defense, particularly valuable during longer hikes or sweat-inducing conditions.
Pre-Tape Problem Areas
Identify any areas prone to hotspots before they develop into full-blown blisters, and protect them with tape. Kinesiology or medical-grade tape prevents skin-on-material friction. Apply smoothly and evenly across problem zones for continuous, reliable protection.
This technique requires pre-event testing since improperly applied tape can cause additional friction. Once effective application techniques are familiar, pre-taping enhances comfort and endurance significantly.
Keep Your Feet and Boots Clean
Dirt and debris exacerbate friction and can introduce bacteria if blisters turn into open sores. Pay attention to cleanliness during treks, carefully checking for small stones or dirt and swiftly removing them from boots.
Start with cleaned footwear and increase inspection frequency on multi-day hikes. Simple cleaning rituals—shaking out debris, rinsing your feet—can preserve long-term foot health and comfort significantly.
Wear Gaiters
Gaiters offer a practical defense against external elements like mud, water, and stones, which can otherwise spoil your hiking venture. They create an upper seal that keeps your boots and feet drier and cleaner.
Effective in warm and wet conditions alike, gaiters ensure comfortable hikes free from debris-induced discomfort and consequent friction-induced blisters. Match gaiter material and style to your anticipated environment and boot design.
Treat Hot Spots Right Away
A hotspot, an early stage blister, provides a warning sign to adjust boots or socks or apply pre-tape. Prompt intervention can prevent a painful, larger blister from forming.
Stop as soon as a hotspot develops to investigate necessary adjustments. Combine the previously mentioned strategies like airing out, cooling down, or employing anti-chafing balms to minimize blister fallout.
How to Treat Blisters
Decide If You Should Pop It
Decisions to pop blisters depend on size and discomfort. A contained, small blister may heal naturally with less invasive treatments. Larger, painful blisters may require precautionary drainage to relieve pressure and prevent further irritation.
Weigh the pros and cons carefully: unpopped blisters provide natural protection against bacteria, but may prolong discomfort and restrict movement. Aim for conservative treatment first, gradually escalating based on pain and inconvenience.
Pop With Care
If you decide to pop, ensure cleanliness to prevent infection. Sterilize needles with fire or antiseptic wipes, pierce at the edge, and gently drain without removing skin.
Post-drainage, apply a suitable antibiotic cream and cover with sterile bandages. Ongoing vigilance will leave a healing environment intact and safeguard against contaminants while promoting natural recovery.
Pad the Blister
Cover a blister to shield it from continual pressure or friction. Use moleskin or hydrocolloid pads, allowing the skin to breathe while adding cushion against outside forces.
Ensure padding doesn’t restrict movement unnaturally, focusing on a fit that safeguards the delicate area without chafing adjacent skin. Correct padding minimizes pain and helps reengage with your trek confidently.
Foot Care First Aid Checklist
Essential
- Antibacterial Wipes
- Moleskin or Blister Pads
- Needle for Draining
- Anti-Chafing Balm
- Spare Socks
Optional
- Toe Socks
- Liner Socks
- Waterproof Gaiters
- Custom Insoles
- Kinesiology Tape
Next Steps
Preparation is key when it comes to preventing and managing blisters on long treks. By equipping yourself with the right knowledge and tools, you can enjoy the full splendor of hiking without the discomfort of blisters. Here is a summary table of the key points discussed:
| Prevention Tips | Treatment Techniques | First Aid Essentials |
|---|---|---|
|
|
|
“`